Showing posts with label Cakes and Pastries. Show all posts

Thursday, February 23, 2017

Cast-Iron Apple Crumble Pie


Every year on Valentine's day, I bake my ex-boyfriend and now husband, a cake. Most of the time, I use  my heart-shape pan to mark the day of love and  decorate it as romantic as humanely possible. You know with hearts, flowers, glitters , ribbons and all. I know he tolerates appreciates my efforts, despite of  my non- existent talent when it comes to cake decorating and baking.


This year, I barely got the time to bake, least decorate a cake for Valentine's day .  My heart- shaped cake pan was left untouched  since I honestly got not clue what cake to bake in it and how to garnish it. But I still want  surprise my better-half with something sweet and sugary. So I though, why not bake his favourite cake instead? 

FF's favourite cake is actually a pie. An apple pie to be exact. With its thin and crispy crust, generous sweet filling and a mountain of crumbly goodness, I understand why.


Sometimes, the simplest of things made us the happiest. This year, FF was extremely happy with the warm apple pie waiting for him this Valentine's cake. Not only did it tasted good, there's no need to decorate it whatsoever since it looked good as it is.


Pie Crust:
1 and 1/4 cup flour
1 tbsp. salt
1/2 cup chilled butter
1 tbsp. sugar
1/3 cup ice water
1 tbsp. cider vinegar


Using a food processor, put all ingredients except for the liquids. With a metal blade attached, pulse for about 10  seconds until mixture will look like course meal.

Mix vinegar and ice water. Pour liquid on the flour and butter mixture, 3-4 tbsp at a time. 

Pulse  until the batter holds together. 

Drop pie dough on a floured working surface and knead for about 1-2 minutes .

Form into a ball and wrap dough in a cling foil. Refrigerate for 30 minutes. Meanwhile, prepare crumble and filling.

Crumble :

2 cups all purpose flour
1 cup white sugar
1/2 cup brown sugar
1 stick chilled butter
3-5 tbsp.melted butter


Put all crumble ingredients in a food processor and pulse until the mixture resembles wet sand. Refrigerate. Now work on your filling.


Apple Filling:

6-7 apples
5 tbsp white sugar
3 tbsp. brown sugar
1 tbsp. cinnamon powder
2 tbsp. butter
1/2 tsp. salt


Peel the apples. 

Dice or thinly slice your apples. 

Add the rest to the ingredients. Toss everything until each apple piece is coated in cinnamon sugar.


Assemble cake!

 Grease the cast iron pan. You can use a regular pie dish or cake pan, of course. 

 On a floured working surface, roll pie dough into a flat disk which is wide enough to cover the bottom and the sides of your pan .
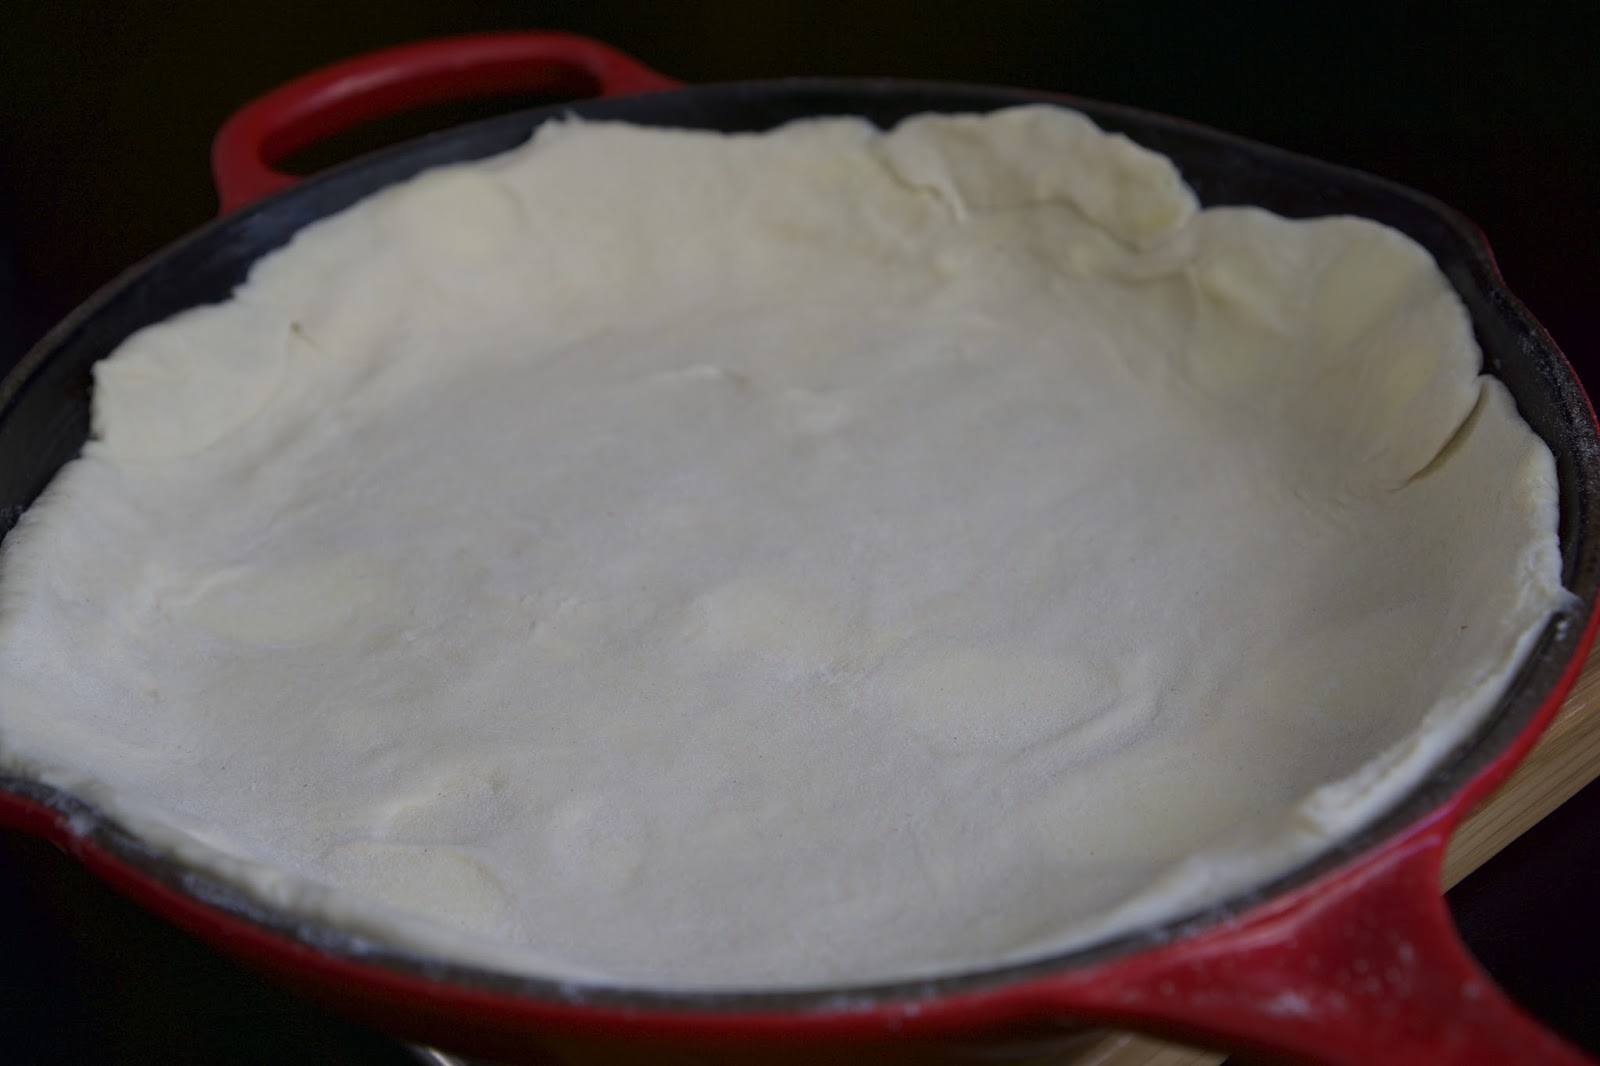
 Transfer pie dough into your pan .
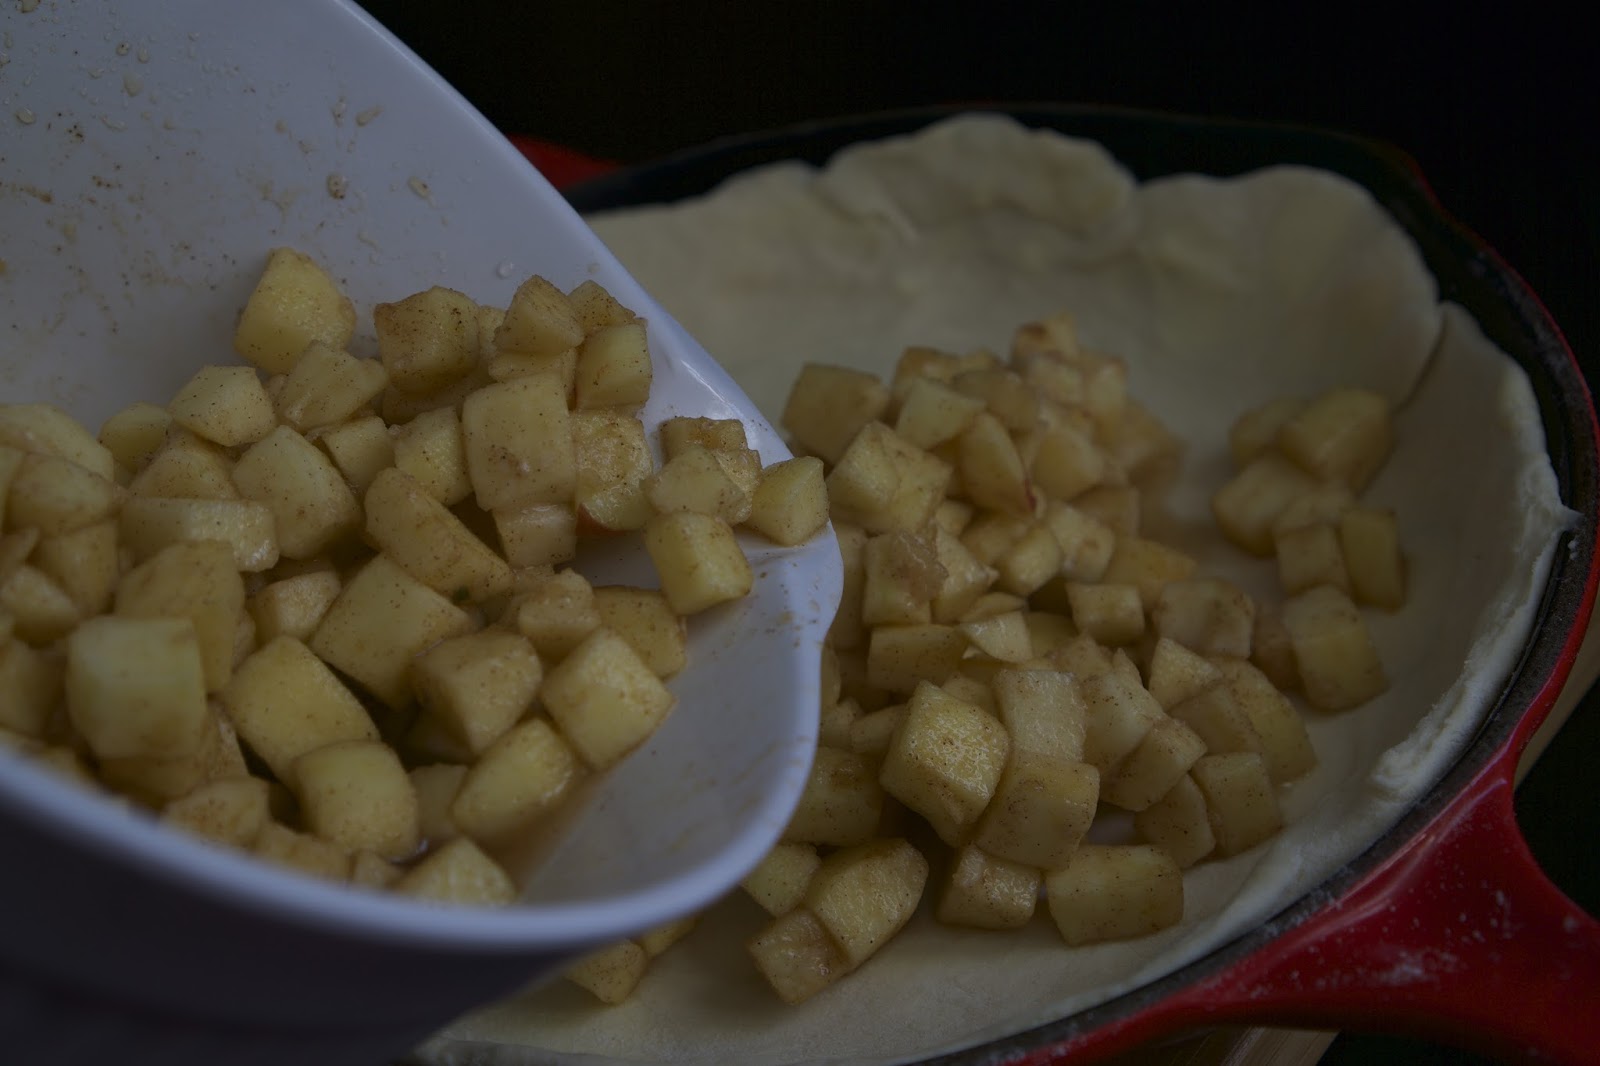
 Put apple pie filling in it and spread .

Spoon crumble over filling.

Bake at 180°c for about an hour.


The warm apple crumble makes an excellent dessert. Just serve it with your favourite ice cream and some caramel sauce and it will please anyone's palate. 

Thursday, August 25, 2016

CRÈME BRÛLÉE CHEESECAKE


I baked a cake and ate it. Why? Because it was my birthday. And since it was my birthday, I got choose what cake to bake and how much calories to take. Creme Brûlée , my all-time favourite dessert  , incorporated into a cake. What a treat! So this year, no procrastination of what's inevitable , no thoughtful speech about  should haves and must haves  . Today , it's all  about  this delicious cake which was pretty easy to make, and being thankful  for another year of wonderful existence.


Ingredients:

 Crust:
200 g graham/ leibnitzs biscuits
60 g butter, melted
3 tbsp. brown sugar

Creme Cheese Brûlée :
2 packs Philadelphia cheese ( 180 g each)
2 eggs
4 egg yolk
1/2 cup sugar ( more if you like your cake sweeter)
1 tsp. vanilla

Others:
3 tbsp. brown sugar


Let's get cracking!

1.  Crush graham crackers or any biscuits of your choice in a manner most convenient to you.
2.  Add in melted butter and brown sugar. Mix until mixture resembles wet sand.

 3. Grease springform pan. I used 20 cm  pan.  Line the bottom and sides with baking paper. The butter will act like a glue, but I guess you know it .
4. Dump crushed biscuit mixture. Pat using the back of spoon or using hands. Squeaky clean hands, of course! Put in the fridges for about 30 minutes to set.
5.  Then bake in a preheated oven, 200°c for 10 minutes. Take out from the oven and allow to cool.
6.  Now, for the creme cheese brûlée batter, just dump everything in a food processor or blender, mix until smooth. That's it! Allow to rest for about 20 minutes to pop unwanted air bubbles . 
7 . Pour batter into the biscuit crust.
8.  Bake for 40 minutes at 180° c or until set but middle still jiggly. The cake will set as it cools. 
9. Refrigerate, bake a day before for best result. Have a stress free day or birthday for that matter! (wink! wink! ) Remove baking paper.


Sprinkle brown sugar on top of the cake. And if you're old enough to play with fire, then  have fun torching those sugar !

Now, if you are celebrating your special day...


Sit back and appreciate your not -so- hard labour.


 Close your eyes and make a wish.

 Blow your birthday candle and hope for the best.


Enjoy a slice with people that matters most and just be grateful of this day the days to come.
The good and the bad because you know, that's life.


Monday, February 15, 2016

Chocolate and Peanut Butter Cake


My blog turns 5 today!


What better way to celebrate this milestone than indulging in one of my favorite food combinations?! Chocolate and Peanut Butter!


Not only did I thoroughly enjoyed this decadent and rich treat, but I got to lit a candle, made a wish and blew it too! Made me feel like a kid again.


Now back to my blog, what ought to be spur of the moment past -time became a long-lasting and enjoyable hobby. 5 years , 2 laptops , 4 cameras and  161 posts later my baby, The Babbling Spoon,  is still here with number of supporters continuously growing.


It was an interesting 5 years and I got to bask in  occasional quirks that came with food blogging.   I might not earn a penny from this but doing what I love the most ( cooking, eating , travelling, photography ,  talking to people , eating some more) and sharing it in this blog is gratifying and rewarding enough.

So, thank you dear readers and followers for continuous support support!


Moist Chocolate cake
600 ggranulated sugar
360 g flour
160 g unsweetened cocoa powder
2 tsp. baking powder
2 tsp. baking soda
2 tsp. salt
3 eggs
175 ml vegetable oil
350 ml milk
1 tbsp. vanilla
instant coffee powder dissolved in 300 ml boiling water
butter for greasing


1. Put dry ingredients in a large mixing bowl and whisk together until well combined.
2.  Then add eggs, milk, vegetable oil and vanilla into the bowl. Beat using an electric mixer until  cake batter  is thick and homogenous . I let my big , mean kitchen machine do the dirty works for me.
2 . In a small cause pan, boil water and dissolve coffee powder. 


3. Add the hot coffee into the cake batter . Keep on beating the batter under high speed for 2-3 minutes. 


4. Grease bakings pans. (3  8-inches or 4 6-inches, like I did.) Evenly divide cake batter into your well greased pans. Bake in a preheated ( 180 °C) over for 30-35 minutes or until toothpick inserted comes out clean. Allow to cool.


Peanut Butter Frosting

150 softened butter
275 g Philadephia cream cheese
1 tsp. vanila
1 whole jar ( 350 g) peanut butter
250 g icing sugar
3-6 tbsp. cream


1. Using a kitchen machine or electric mixer , beat together butter , vanilla and cream cheese until pale and thick.


 2. Beat in peanut butter ( I used the chunky peanut butter just to play with textures ) and icing sugar.
 3. Gradually beat in cream until desired consistency is achieved.
4. Frosting should be thick but spreadable.


Chocolate ganache

150 g bitterchocolate
1 tbsp. butter
3 tbsp. cream


 1. Place a heat-proof mixing bowl over a pot of boiling water. Do not let water touch the mixing bowl. Put chopped chocolate and butter and allow to melt.
 2. Take mixing bowl from the heat and stir in cream.
3. Allow ganache to cool down a bit. About 10-15 minutes.


Assemble cake!


Put a layer of chocolate cake on to your cake platter. Smooth a generous amount of frosting , spreading it evenly. Carefully put another layer of cake. Top again with frosting.


Spread frosting on top as well as the sides of the cake. I suck at cake decorating and frosting, but it tasted great nevertheless. plus the crunchy texture of the peanuts certainly add some  character to it. Pop cake in the fridge for 20-30 minutes to solidify it. You can use this time to make your ganache .


Carefully pour ganache on top of the cake, let it sexily drip to the sides.


Hold on to your horses, look at the fruit of your labor, appreciated....


And eat! Do not forget to share with the people you love. 
Related Posts Plugin for WordPress, Blogger...