Showing posts with label Shrimps. Show all posts

Friday, July 8, 2016

Mini Prawn scotch egg


I saw.... I drolled... I searched for its name.

 Scotch egg, it is called. Usually cooked using sausage meat and chicken egg. 


  Another recipe online using prawn inspired me, so I gave it a try. A nice finger food, amuse bouse, appetiser  or bit- sized snack, 


Ingredients:

500 g prawn, washed ,shelled and deveined
2 cloves of garlic
1 shallot
1 chilli , optional
1 small piece of ginger, peeled
2 stalks of spring onion, finely chopped
a handful of cilantro, chopped
100 g water chestnut
2 tbsp. cornflour
Seasoning: 
sesame oil, fish sauce, 1 tbsp. sugar salt & pepper

1/2  cup flour
1 egg, beaten
1/2 cup breadcrumbs
oil for frying 


Cookings instructions:


 Put garlic, shallots , ginger, chilli in a mortar and pound away. You can use food processor instead. I like to use my wobbly arms today . Ground until aromatics turn into a homogenous paste. Take paste  out and set aside.


Pound shrimp/prawn in batches. 

 Add spice  paste into the prawn pate . Add finely chopped spring onion. Mix until well combined.


Finely dice water chestnut. 

Add into the prawn paste.

Add  chopped cilantro, season with sesame oil, fish sauce, sugar , salt and pepper. 


Into the prawn goes the corn starch. Mix! Mix! Mix!

Cook quails egg for 2 and half minutes. Carefully peel. Toss in flour.

Take about 1 tbsp. of prawn mixture.

Put quails egg in the middle an carefully wrap egg with prawn paste, adding more mixture if necessary. 

Gently roll prawn ball in flour.

Dip in egg.


Finally, in breadcrumbs. Tip:  Add 3 tbsp. desiccated coconut into the breadcrumbs for extra texture and flavour.

Pop in the fridge , uncovered. Could be made a day before .


Heat oil in the pan, fry until golden brown for 3-4 minutes. Serve with your favourite dip or salsa.


For bigger scotch eggs using chicken egg. Boil chicken egg for 6 minutes. Fry scotch egg for about 5-6 minutes. It makes delicious breakfast or brunch. 


Monday, January 27, 2014

Filipino style Arroz Valenciana

Every time I go back home to the Philippines, Nanay always asked what I want to have as my first welcome home meal.  I could request a whole lechon and I know, my Family will go scourge the neighborhood and beyond for the most promising swine to satisfy my home sicked palate. Anything for the long gone child,per se.
To answer that question,  I always and I mean always, requested Tinolang Manok ( native chicken soup), grilled tuna jaw and lastly, something that might request the most work, the Arroz Valenciana . 


My mother's brothers can cook tasty Valencianas. They're the official cooks in the family . So during family feasts and celebrations,  if there will be a pig squealing, chicken chucking or ducks quacking, they are the men behind the animals' distress calls. Don't take it against them or our family, they are farmers who raised animals, very well if I may add ,( much better than how commercialized animals in most develop countries are raised) and slaughter it, for food.
 Valenciana Is always present in our family get together and reuinon. Eating it is somehow interlaced with good times with family and close friends. 
I was feeling under the weather lately and missing my country. It would be another year for the next holiday, so I end up doing something that could make me feel like I'm back home, enjoying a festivity with my big and loud family. Pleasure the palate and soothe the mind. Food really comforts me. 

It was quite a lot of work to cook this dish but it worth it. I was quite happy with the result. By our next family reunion, I'm going to cook this and make my uncle Dodong and Uncle Cito proud of me.


Ingredients:

350 g sticky rice + 300 g jasmine rice
1 L chicken stock
1 tsp. turmeric powder ( originally, astuete or annato seed is used but I can't find it here)
1 chicken leg, chopped into bite size pieces
350 g pork shoulder, sliced into bite size pieces
200 g pork liver , sliced
300 g shrimps, shelled
1 medium sized onion, diced
4 - 6 cloves of garlic, finely minced
2 red bell pepper, cut into small squares
2 tbsp tomato purée/ paste
1 cup of raisin
1 cup of green peas
3 bay leaves
Oil for sautéing
Salt and pepper
Fish sauce

Cooking Instructions:

1.Cook sticky rice, jasmine rice in the rice cooker. Use about 800 ml of the chicken broth, add salt and turmeric, mix well until rice is submerged in the yellow tinged broth. 


The Protein cast and characters.


2.While rice is cooking. Chop and slice meat and vegetable and set aside.


3.Heat vegetable or olive oil in a non stick pan big enough to hold the protein chunks and carbs.Sauté diced onion until translucent, add in chopped garlic. Add in chicken and pork slices. Keep stirring  and cook for about 10 mins. 


Hello Iron!
4.Add in the liver.

 5.Add a dash of fish sauce. Put bay leaves in the pan. Season well with salt and pepper, cover and simmer for about 8 mins under high heat.


6. Take the lid out. Add chopped Bell peppers, peas and raisins. Stir! Stir! Stir!


7.Dissolve the tomato purée in the remaining 200 ml of chicken broth. Add the mixture into the Pan. Let it simmer for another 10 mins, uncovered.


8.Add in the just cooked rice into the pan. Mix thoroughly.


9.Stir in shrimps. Cover Pan until shrimps are cooked or turn pink. Mine was already glazed so it only took 5 more mins. Test taste. Season with more salt, pepper or fish sauce if needed.


Well? What are you waiting for? Dig in and enjoy!


Friday, September 21, 2012

Pimp my sauce!


A trip to the grocery somehow reminds me of Chemistry class. Acesulfame potassium,  Sodium acetate, Monosodium glutamate are just few of the many additives, enhancers, artificial coloring names that reminded me of my Junior High year. I was never been a fan of chemistry anyway and I certainly don't want to beat my brains out  over a bottle of Knorr/Maggi sauce and how a teaspoon of it would affect my anatomy.  Microwave heated meals, prepared sauces and canned foods,   an  epitome of what Not to eat but I eat anyway. Welcome to my world!

It was just another weekend trip to the supermarket when I came across an aisle of ready made sauces. One particular bottle caught my attention. With its I'm brighter-than sunshine-color and a-steal-3.50-euro-for-a-pure-lobster-essence-price, this bottle screams artificial and I just could not wait to try it.  Just a little bit of pimping and this sauce would be promising. After all, there's no unsavory sauce that enough butter and cream can not salvage.


Gnocchi with Shrimps in (bottled) Lobster Sauce


  •  Clean, peel and devein 500 g of tiger shrimps.
  • Heat  2 teaspoons of butter in a skillet or pot  and saute shrimps until it turn pink.  Season with salt and pepper, take it out of the pan using a slotted spoon and set aside leaving as much butter as possible.


  1. Deglaze pot with 250 ml of  wine , I used Rosé since FF opened a bottle the night before.Let wine cook for about 3 minutes while scrapping the pan with a wooden spatula.
  2.  I then stir in the contents of this wonder lobster sauce into the pot. Lower the heat to medium and let sauce simmer for about 5 minutes, covered.
  3. Carefully stir in 200 ml of cream until everything is well incorporated. Bring sauce to a gentle boil.
  4. Add in 50 g of freshly shredded Pecorino Romano cheese. Season with a bit of salt and pepper. Fertig!
 To serve: Cook gnocchi as instructed. The one I bought could be pan fried in butter. Place cooked gnocchi in the serving plate, drizzle sauce over it.
  
 Heat a bit of butter in a skillet and reheat shrimps for a minute over high heat. Place warm shrimps over the gnocchi, garnish with freshly shredded Pecorino and some chopped greens like parsley.


 After using 500 g of gnocchi, I still have some leftover lobster sauce which I used for lunch the next day. I just cooked another batch of shrimps,  although salmon cubes on pasta could also be a nice alternative. Serve with garden fresh salad and there goes your balance diet. Carb on your right, coke on your left and lettuce leaves in the middle to cool your head.Enjoy!


Tuesday, March 15, 2011

Another shrimpy tail-tale. A Coconut Shrimp Recipe

I know I already put an end to the shrimp chronicle BUT even Bubba and Forrest Gump were able to talk about shrimps for days.  So  after starting off with   this shrimp toast  recipe and moving on to a more luxurious  shrimp bisque recipe,  I decided to go on with this chronicle until somebody else would say ''enough already! ''. Which is not going to happen anyway, I hope.  Nobody that I know hates shrimps, even those who have allergies to it sometimes takes risk and eat it when pharmacy is in sight. Possibly stir frying shrimps in vegetables and taking antihistamines as dessert. I know somebody who does this but it's another story so we'll leave it at that.


Anyway, here is another very simple shrimp recipe  which is a guaranteed hit to everyone. Serve this on your party and they disappear in no time. If not, your guests must be strick vegans so it's not your fault. And yessssss it is also deep fried.


Crispy Coconut Shrimps.

The preparation is similar to firecracker shrimps. Shell raw shrimps leaving the tails on and marinate it for about half an hour or more. You can use the marinade in the firecracker shrimp recipe or you can simply season it with salt and pepper.  I used a small amount of chinese five spice powder with these basic condiments. Too much spices could over power the sweet and delicate flavor of coconut.


Then make a tempura batter using flour, baking powder, a pinch of cayenne pepper , salt and pepper. Pour  cold water into the dry ingredients  and stir everything until the mixture turns into a thick ( but not overly) batter. Dip the shrimp until well coated shaking the  excess off. Just batter it lightly, we want to eat shrimp, not fried dough.
In another bowl, mix desiccated coconut and breadcrumbs together. Dip the batter-coated shrimps and set aside.


Pile them neatly on the side while preparing your wok or fryer. Now heat enough oil that could irritate your cardiologist. When oil starts to sizzle but not smoke, let these shimps have their last swim. Two max. three minutes  is enough to turn them into a wonderful golden brown. Drain on paper towel and don't wait for them to turn cold before your eyes. Pop one in your mouth still pipping hot, that's when they taste best.


Puuurfrect finger food! But hey, if finger foods could get as  delicous as this, I'm willing to used my knees and elbows as well. Enjoy!

Tuesday, February 22, 2011

Firecracker Shrimp

Lets try to give this saga a rest before we develop some serious seafood allergies. Firecracker shrimp is a very simple  but  oh so so delicious finger food. Try counting every Shrimps before serving them because when these babies come out from the fryer, hands and salavating mouths appear out of nowhere.  So don't turn your back on these yummies since they tend to miraculously disapper. The cat took it! The cat took it! Alright enough babbling. Lets get back to business.

The Shrimp Chronicle part 3:
Firecracker Shrimps


I supposed it is called  firecracker shrimp because when  this big, fat and juicy Shrimp is  wrapped in a springroll skin with its tail exposed, it looked like one. It is a versatile recipe, one can use any spices or marinade. Here's how I did mine.


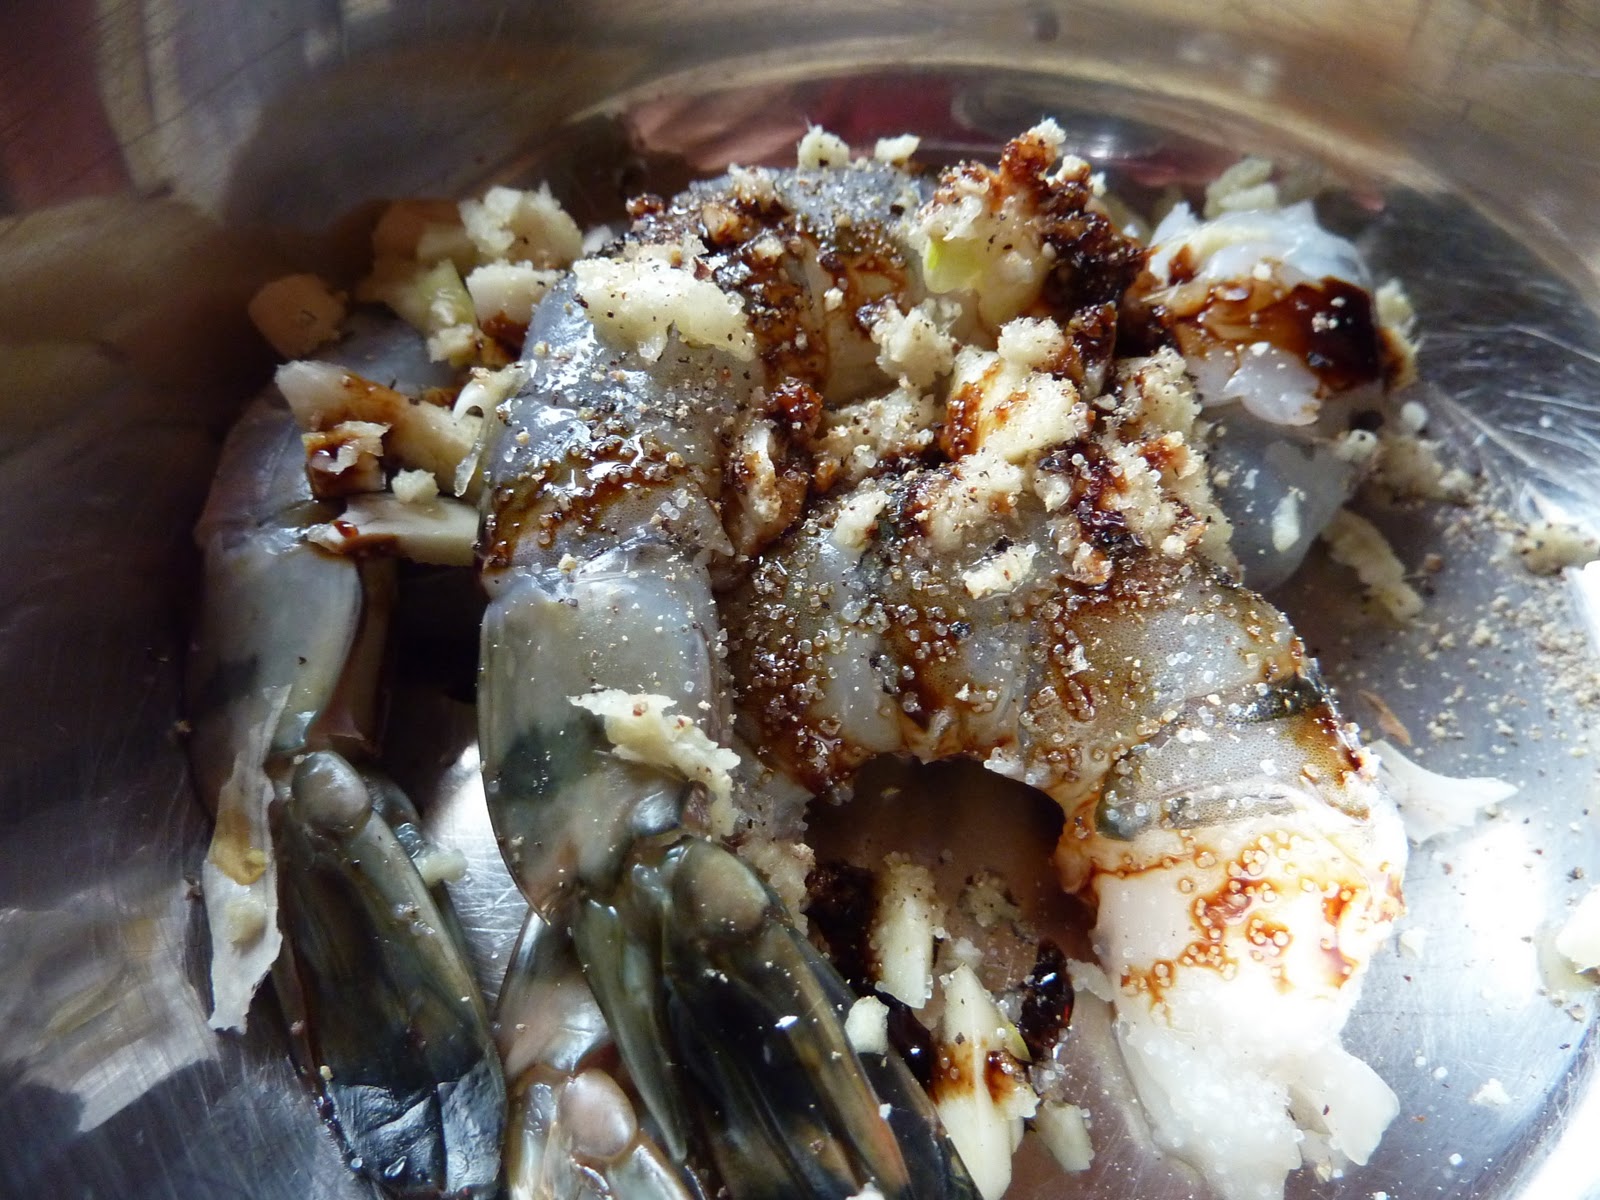
No that's not our neighbor's cat. I simply shell few big shrimps leaving the tails on. Let the tails alone! It has  an important function.  It gives you an excuse  to HOLD YOUR FOOD. You could never be fast enough when it comes to  eating these.  Forks and Knives will slow you down, believe me. Anyway, I used crushed garlic cloves, grated ginger root, few drops of sesame oil and light soy sauce and dash of salt and freshly grounded  pepper . Again, spices and seasoning could be altered. You can use onion or garlic powder, chili flakes, Chinese five spice powder, curry or cumin or  even Thai chili sauce as marinade. Anything you fancy. After seasoning add about a tbsp. constarch  to make your marinade cling to the shrimps. Use your hand to toss everything, be gentle there. Your food must know how much you appreciate them . Let it soak in the marinade for about half an hour.


before


after


Make a small incisions on the inner side of the shrimp to straighten  it up and making it easier to roll.


After marinating, pat the shrimps dry. Hot oil plus other liquid is like second degree burn waiting to happen. Now cut a big sheet of springroll skin diagonally. Use it to  wrap each shrimp.. tightly . The last thing you want is oil seeping in and breaking this lovely parcel apart  . Then use an egg wash  to seal it. Let these pictures do the talking, shall we?


It doesn't look too difficult, no? Now, into the hot oil! About 2 or 3 minutes will do or until the springroll skin  turns into a beautiful golden brown color.

If this shrimp could move,  I bet it would jump right back into the boiling oil . Somehow it knew, the first to be up gets eaten! The poor thing didn't even reached the serving plate. Ok, these three didn't....Enjoy!


Related Posts Plugin for WordPress, Blogger...